
The sun was just starting to dip behind the loblolly pines, casting long, jittery shadows across our red clay yard, when we finally hoisted the last wall of the workshop frame into place. It was late May, that specific week in North Carolina where the humidity decides to stop being a suggestion and starts being a lifestyle. We stood there, covered in sawdust and sweat, staring at a skeleton of 2x4s that actually looked like... well, a building.
Welcome back to the 'Perpetual Workshop' project. If you’ve been following our journey on this half-acre, you know we’ve tackled everything from a backyard playhouse to a rather ambitious chicken coop. But this workshop? This is the big one. Before we dive into the grit of how we framed this beast without calling a divorce attorney, a quick heads-up: this post contains affiliate links. If you buy through them, I earn a commission at no extra cost to you. We only recommend plans and tools we’ve actually dragged through the mud ourselves—literally. You can find our full disclosure here.
1. Framing is Just a Series of Overwhelmingly Simple Boxes

I handle the planning—the spreadsheets, the diagrams, and the 'let’s make sure we aren't building this on a sinkhole' research. He handles the heavy lifting and the power tools that make me nervous. But when we first stood in front of a $2,000 pile of lumber back in March, we both felt that familiar DIY paralysis. Framing looks high-stakes. It’s the skeleton. If the skeleton is crooked, the whole body is going to walk funny.
What we realized about three hours into the first Saturday is that framing isn't a giant, complex puzzle. It’s just a series of rectangles. Once you understand the concept of a sill plate and 16-inch-on-center spacing, the 'scary' building just becomes a repetitive exercise in making boxes. We learned this the hard way during our raised deck build, but applying it to a vertical structure felt different. If you can build one wall segment, you can build ten. You just have to stop looking at the whole mountain and start looking at the next stud.
2. Your Concrete Slab is a Beautiful, Lying Snake
We poured the foundation earlier this spring, and I would have bet my favorite miter saw that it was level. It looked like a mirror. It felt like a runway. Then we laid down the first bottom plate and realized our concrete had more 'character' (read: waves) than the Atlantic coast. In rural North Carolina, between the heat and the way the ground settles, 'perfectly level' is a myth people tell you to make you feel better.
We spent a solid afternoon shimming, swearing, and re-checking our levels. If you don't fix the wonky foundation at the framing stage, your roof rafters will never line up, and your doors will swing open like you’re living in a haunted house. This is where that stubbornness we mention in our 'About' page really pays off. We’ve had our share of DIY failures, and most of them started because we said, "Eh, it’s close enough." For framing? Close enough is how you end up with a workshop that leans toward the neighbor's fence.
3. Plans are Cheaper Than Lumber (and Sanity)
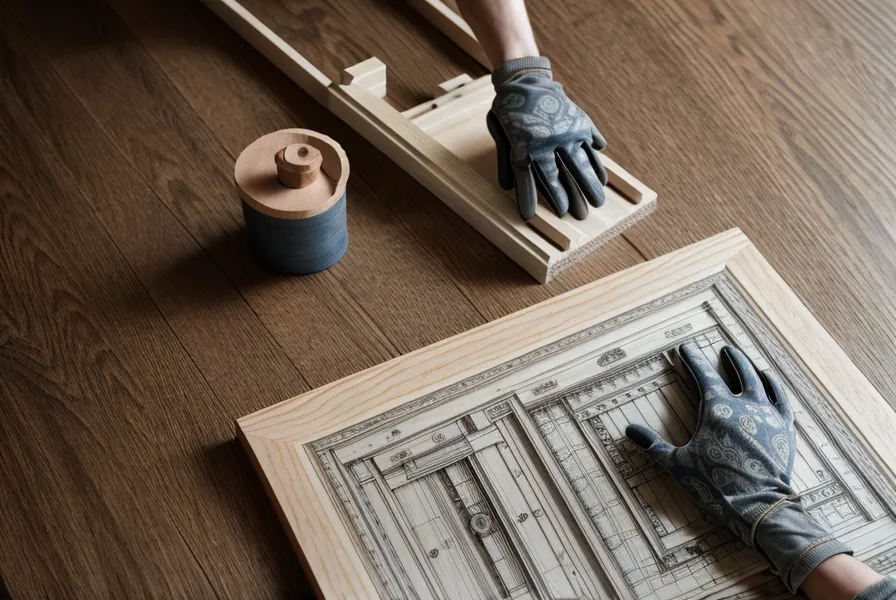
I used to think I could wing it. I’ve watched enough home renovation shows to feel like a pro, right? Wrong. Within the first weekend, I had already wasted three 2x4s because I forgot to account for the thickness of the top plate when I was cutting my studs. That’s a twenty-dollar mistake that adds up fast when you’re building a 12x16 workspace. She stepped in with a printed stack of diagrams, and honestly, it saved the project.
We’ve been leaning heavily on TedsWoodworking for this build. Having a literal cut list is the difference between a productive Saturday and three frustrated trips to the hardware store because you’re one board short. With over 16,000 plans, we actually found a workshop design that matched the pitch of our house roof perfectly. If you're just starting out and don't want to do the structural math yourself—because trust me, 'structural integrity' is not something you want to guess at—having a professional blueprint is worth every penny. We even used their smaller projects to build a potting bench while waiting for the concrete to cure.
If you're more focused on just getting a storage space up and running, we’ve also looked at My Shed Plans, which is fantastic if you're worried about local building codes or foundation types. They really hold your hand through the 'boring' parts of the build so you can get to the fun part: hitting things with a hammer.
4. The Humidity and the Hardware Struggle
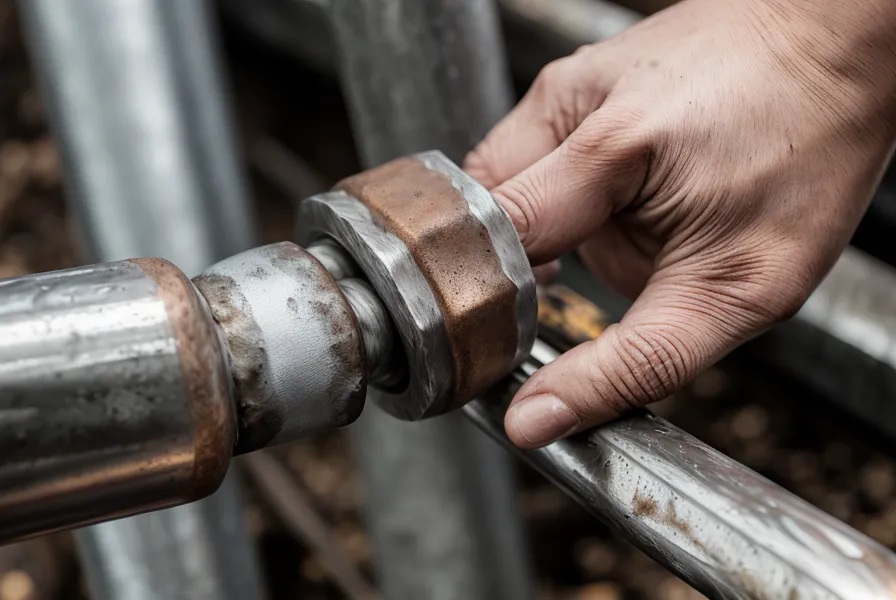
She’s the one who reads the manuals; I’m the one who tries to use the pneumatic nailer without checking the pressure settings. One thing we didn't account for was how much our local climate would dictate our materials. In North Carolina, the humidity is basically a physical entity that wants to rot your hard work. We learned that every single piece of wood touching the ground needs to be pressure-treated, and every nail needs to be ready for the moisture.
We switched to hot-dipped galvanization for all our exterior fasteners. It’s a few extra bucks at the register, but seeing how fast raw steel rusts in our backyard during a June thunderstorm was enough to convince us. We also learned that setting up a 'cutting station'—a stable table for the miter saw—is better than dragging your tools through the red clay every time you need to trim a quarter-inch off a header. It keeps the tools happy and your back from screaming at you by mid-afternoon.
5. It’s a Workshop, Not a Cathedral
This was the hardest lesson for me to swallow. I wanted every stud to be perfectly plumb to the thousandth of an inch. I wanted the headers to look like art. But as she reminded me while I was losing my mind over a 1/8th-inch gap in a corner post: 'Honey, we’re going to cover this with siding and pegboard.' Perfection is the enemy of a finished project.
Our workshop is still a work in progress. The rafters are up, the sheathing is on, and it’s finally shedding water. We’re doing this between our day jobs, one weekend at a time. If we had hired a contractor, it would have been done in four days and cost us fifteen thousand dollars. Doing it ourselves? It’s taken us months, but the satisfaction of knowing every nail was driven by us (and knowing we saved enough to finally start planning our greenhouse) is worth the sore muscles.
There’s a specific kind of pride that comes from walking out into the yard with a cold beer on a Friday evening and seeing something you built with your own two hands standing tall. It’s not perfect—there’s a hammer mark on one of the top plates where I missed a nail, and one of the window openings is slightly over-engineered because I was nervous about the weight. But it’s ours. It’s a testament to the fact that two people with enough stubbornness and a good set of plans can build just about anything.
Thinking of Starting Your Own Build?
If you’re sitting on a pile of 'maybe one day' ideas, my best advice is to just start. Don't wait until you're an expert. You’ll become an expert by making mistakes and fixing them. Get yourself a solid foundation of plans—we really can't recommend the variety in TedsWoodworking enough for getting the dimensions right the first time—and just build that first box. Before you know it, you’ll have a workshop, a few new scars, and a lot of stories to tell over the fence. Now, if you'll excuse us, we have some siding to level and a humidity-induced nap to take.